

Move notes across notebooks
UpNote makes it easy to move notes between notebooks, helping you keep your content organized as your projects or ideas evolve. You can move one note at a time or multiple notes at once.
On desktop
There are several ways to add or move notes between notebooks in UpNote, giving you flexibility to organize your notes quickly and efficiently.
🖱️Drag and Drop
You can easily drag and drop notes from the note list into notebooks in the sidebar.
By default, dragging a note to a notebook will add it to that notebook.
If you prefer to move the note (instead of adding it to multiple notebooks), go to: Settings → General → Others → Drag notes to notebook → Move to notebook.
📘 Use the Notebook Icon
Another way to add or move a note is from the note editor:
Click the Notebook icon at the bottom-left corner of the note editor.
Select one or more notebooks to add your note to.
You can also open this pop-up using the shortcut Cmd/Ctrl + Shift + B.
To remove a note from a notebook:
Untick the current notebook from the list in the pop-up, or
Click the × button on the notebook label directly in the note.

Tip: In the Add to Notebooks pop-up, you can type the first few letters of a notebook name in the search box to find it faster.
Use the Up/Down arrow keys to navigate between notebooks.
Press Return/Enter to select or unselect a notebook.
Move multiple notes at once
You can move or add multiple notes to notebooks at once to reorganize your workspace more efficiently.
In the note list, hold the Shift or Cmd/Ctrl key to select multiple notes.
Once selected, you can:
Drag and drop the notes into a notebook in the sidebar, or
Use the options in the right panel:
Move to another notebook – Moves all selected notes to the chosen notebook.
Add to notebooks – Adds the selected notes to additional notebooks, allowing you to organize them in more than one place.

On mobile
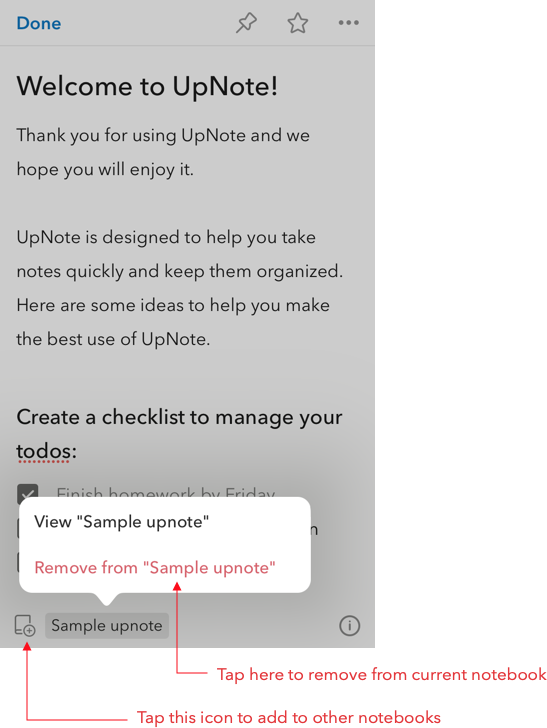
You can perform the same actions on mobile by tapping the Notebooks icon at the bottom of the note editor to add or move a note to different notebooks.
To move multiple notes at once:
Go to the note list screen.
Tap the More (⋯) button to enter multi-select mode.
Select the notes you want to move.
Tap the Notebook button and choose the destination notebooks.

Last updated